Show Solution …
The Challenge
NOTE: This challenge was taken down shortly after the conclusion of the CTF due to vulnerabilities in the web server. You can read about the challenge and solution below, but you won’t be able to perform it. This write-up will be longer than most as a result.
Here we are; the final level! Here we have an interesting looking page with a text field that we can type in. It looks as though it will possibly perform a DNS Lookup on whatever we type in the box.

Well, let’s give it a try. I entered in google.com to see what happened.
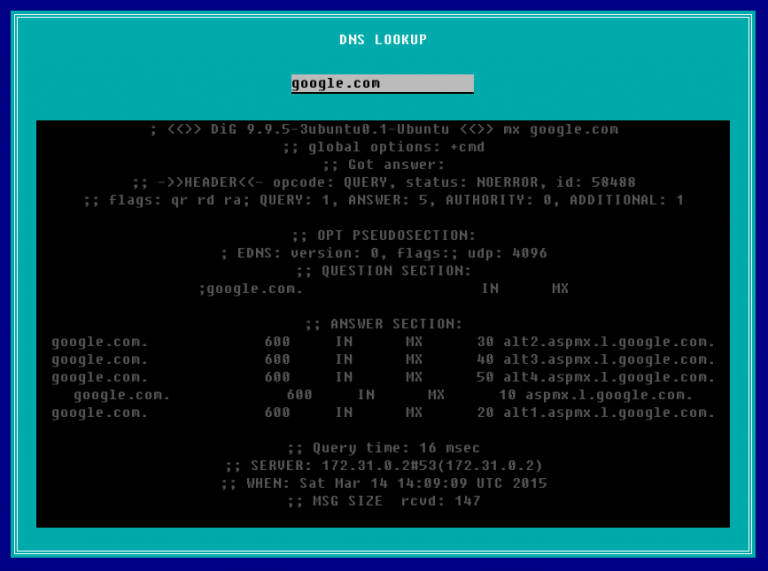
Sure enough, it behaved as expected. The real question here is whether or not we can make this do other commands besides the Linux dig command (which is what this output is). In Linux, you can write multiple commands on a single line by separating them with semicolons, so let’s give that a try. The below screenshot is the result of typing google.com; ls -la
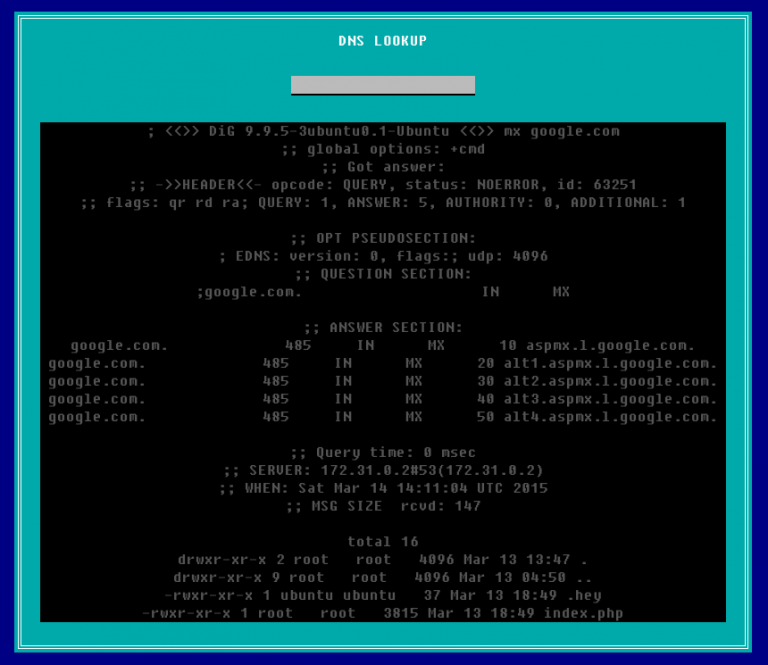
It worked! At the end of the DNS results for google.com, we get a directory listing for the webserver itself. Doing some other Linux commands, such as id will tell you that you are running as a user account called www-data which is for the webserver itself. For the most part, this account should have limited permissions.
Right there in the directory listing you will see a file called .hey. You can also access this file by going to http://ctf.infosecinstitute.com/levelfifteen/.hey since the console above is no longer operational. If we open it up, we get some kind of encoded text string.
Miux+mT6Kkcx+IhyMjTFnxT6KjAa+i6ZLibC
Not only does the name of it make it stand out, but this string looks similar to a base64 encoded flag. Unfortunately, putting it through a base64 decoder yields no result. If it’s not base64, let’s find some other decoders and try those as well. A decent website with a large number of encoders/decoders (both common and uncommon) can be found here. We can’t tell a whole lot about the text above, and we don’t have a key, so let’s try putting it through every decoder they have that doesn’t require a key. You will eventually find one that works.

There we go, apparently it was encoded with ATOM-128. I would encourage you to learn a bit more about the algorithm now that you know what it is and have seen it used. You know that it looks similar to base64, but can you catch anything else? If you try encoding a few test messages with the algorithm, you will notice that they always end in one or more C’s. So, if you see something that looks like base64, but it doesn’t decode properly as base64, and ends in a C, you know it’s probably ATOM-128!
More than you need to know about ATOM-128:
Having never heard of ATOM-128, I was very curious to learn how it worked and why it seemed so similar to base64. There is extremely little documentation out there about it, but apparently it is a base64-encoded string that is encrypted with a substitution cipher and an extra ‘C’ added at the end. Remember that a substitution cipher is just assigning one letter to replace another (e.g., a=f, b=s, c=k). This picture below explains the substitution that ATOM-128 makes compared with the Base64 character set:

So, if our first three letters of the encrypted flag were Miu, then the decrypted first three letters would be aW5 — see how that works? Once you go through each letter and strip off the final C, you can decode it like you would any Base64 string.
Here is another example: let’s say that we have the text Hello_InfoSec — let’s encode it via Base64 and ATOM-128. I have the results of both below.

Now compare the ATOM-128 result with the Base64 result, letter-by-letter. For example, the first letter of the ATOM-128 result is D, and the first letter of the Base64 result is S. Looking at the substitution cipher two pictures up, you will notice that this substitution lines up.
TL;DR: ATOM-128 just takes your plaintext, Base64-encodes it, does the substitution, and adds a C at the end (or replaces trailing = with C).
Bonus Flag
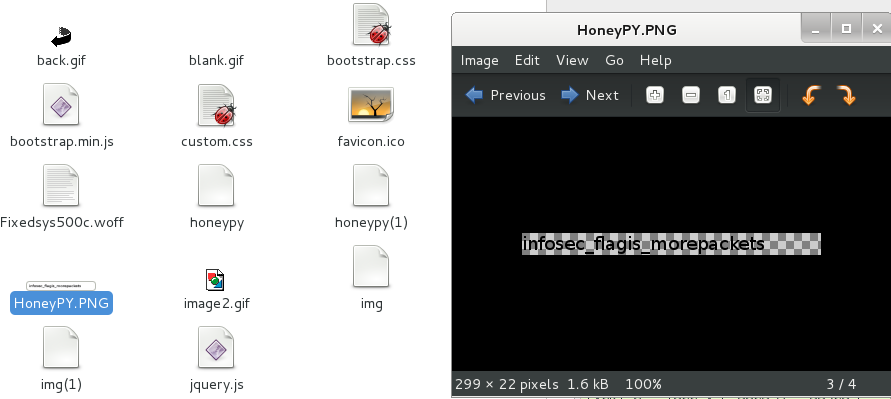
After doing some more exploring, you’ll find some familiar directories in your parent folder, such as /img and /misc. Other levels utilized these folders a lot, but we were never able to access them to see all of their contents. Here is a screenshot after entering ; ls -la ../misc

All of these files should be very familiar, except for one. After going through all of the levels, I had never encountered readme.wav before. I opened it up and played the sound file in the browser; you immediately identify the sound as Morse code tones, and it plays for nearly a minute. I opened up notepad, started the audio over, and began keeping track. Assuming that the flag starts like normal, I didn’t track the first set of letters, assuming it to be “infosecflagis” (Morse code doesn’t have underscores). This is what I ended up getting:

The x’s designate the letters that I skipped for the known part of the flag. After copying down the dots and dashes, I went over to a table that had the conversions (though I could have copied it into a converter online) and got the result on the second line above: infosecflagismorsecodetones (or in the usual format: infosec_flagis_morsecodetones)
Lessons Learned
This level was an example of command injection. We were given a useful tool on a website, but we injected our own malicious commands into it that made the tool behave differently than how it was designed, giving a lot of control to the hacker.
Stressed throughout nearly every level, attention to detail is incredibly important. This required navigating the website structure and picking out a file that you hadn’t seen yet. This is also a good example showing that you should always go back and make sure that you didn’t miss anything if you get advanced access later.
You also learned how to identify and decode an ATOM-128 string. It looks very similar to Base64 and always ends with a C. Being able to spot these at a glance will save a significant amount of time.

 My favorite resource for security policy templates is the SANS Security Policy Resource webpage, found at
  Asana
Asana Basecamp


